How to Prepare Logos for Fab Logo Slider
To make your logo slider look clean and professional, it’s important to prepare all logos consistently before uploading them to the app.
This quick guide shows the recommended way to prepare logos using Figma.
Recommended Logo Formats
SVG (Recommended)
Best quality and perfect scaling on all screens.
Recommended whenever possible.
PNG
Great alternative if SVG is unavailable.
Use PNG files with a transparent background.
JPEG / JPG
Use only as a last option.
Does not support transparency.
For best results, keep logo files reasonably lightweight — ideally under 1MB. This helps your logo slider load faster and look smoother across all devices.
How to Prepare Logos in Figma
We’ll use Figma — one of the most popular free design tools.
You can use it directly in your browser or install the desktop app from:
Figma Official Website
To get started:
- Open Figma
- Click New Design File
- Create a blank design file
Now you’re ready to prepare your logos.
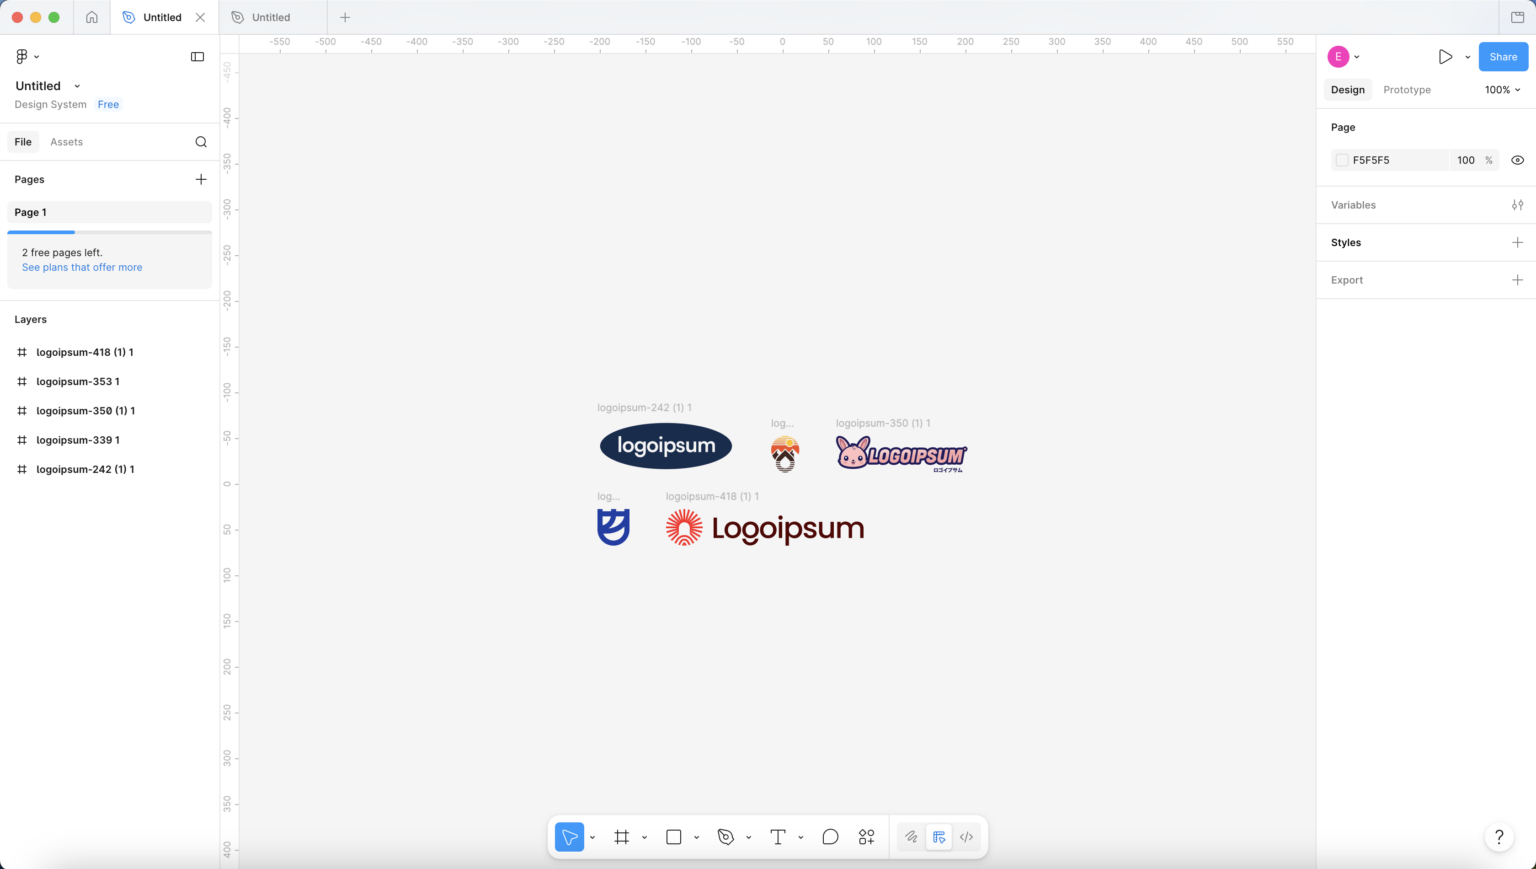
Step 1 — Add Your Logos
Your logos can have different shapes:
horizontal logos
square logos
tall logos
This is completely normal.
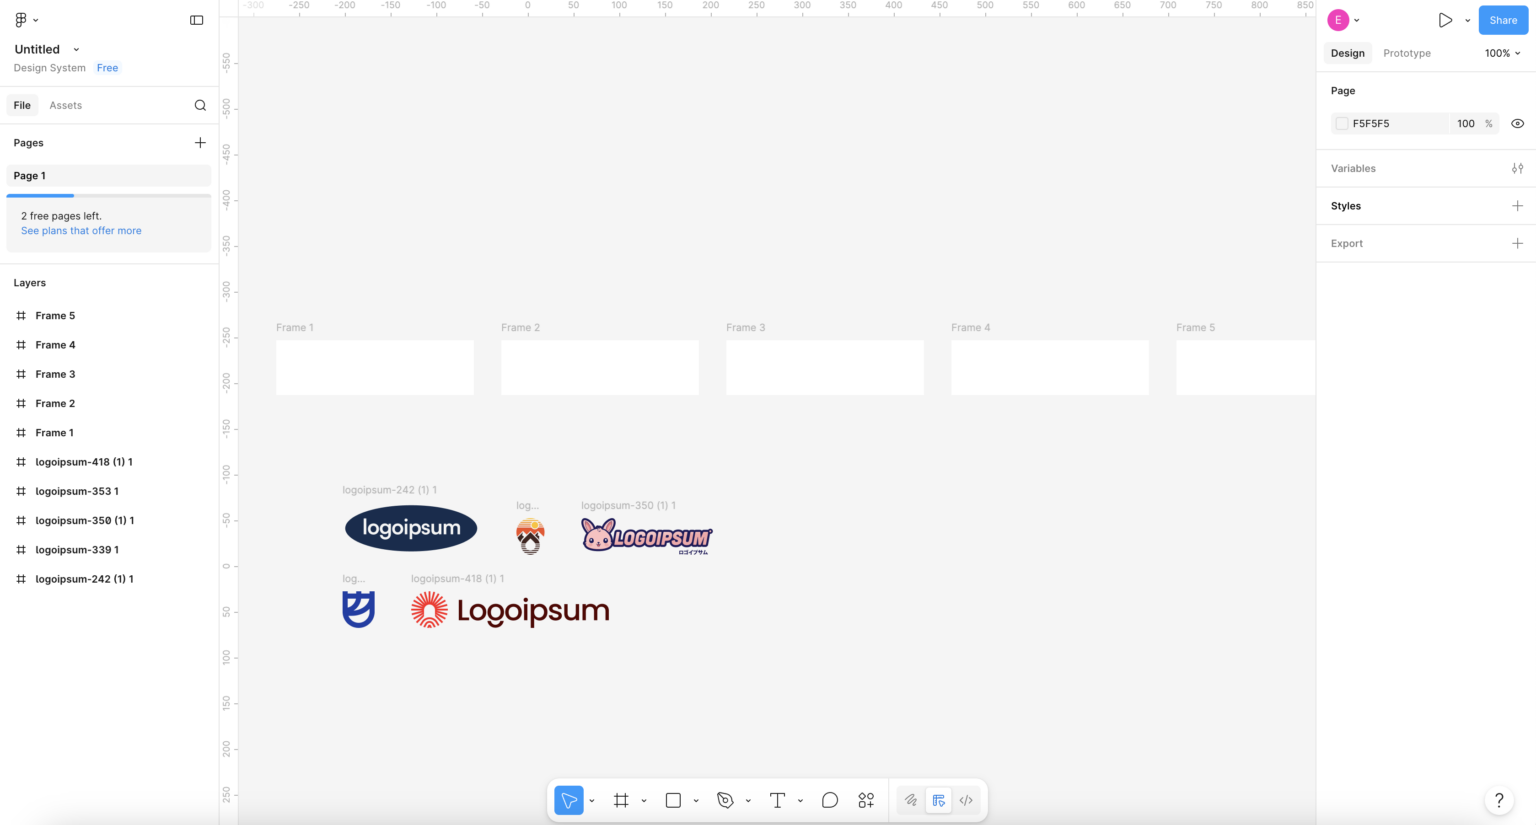
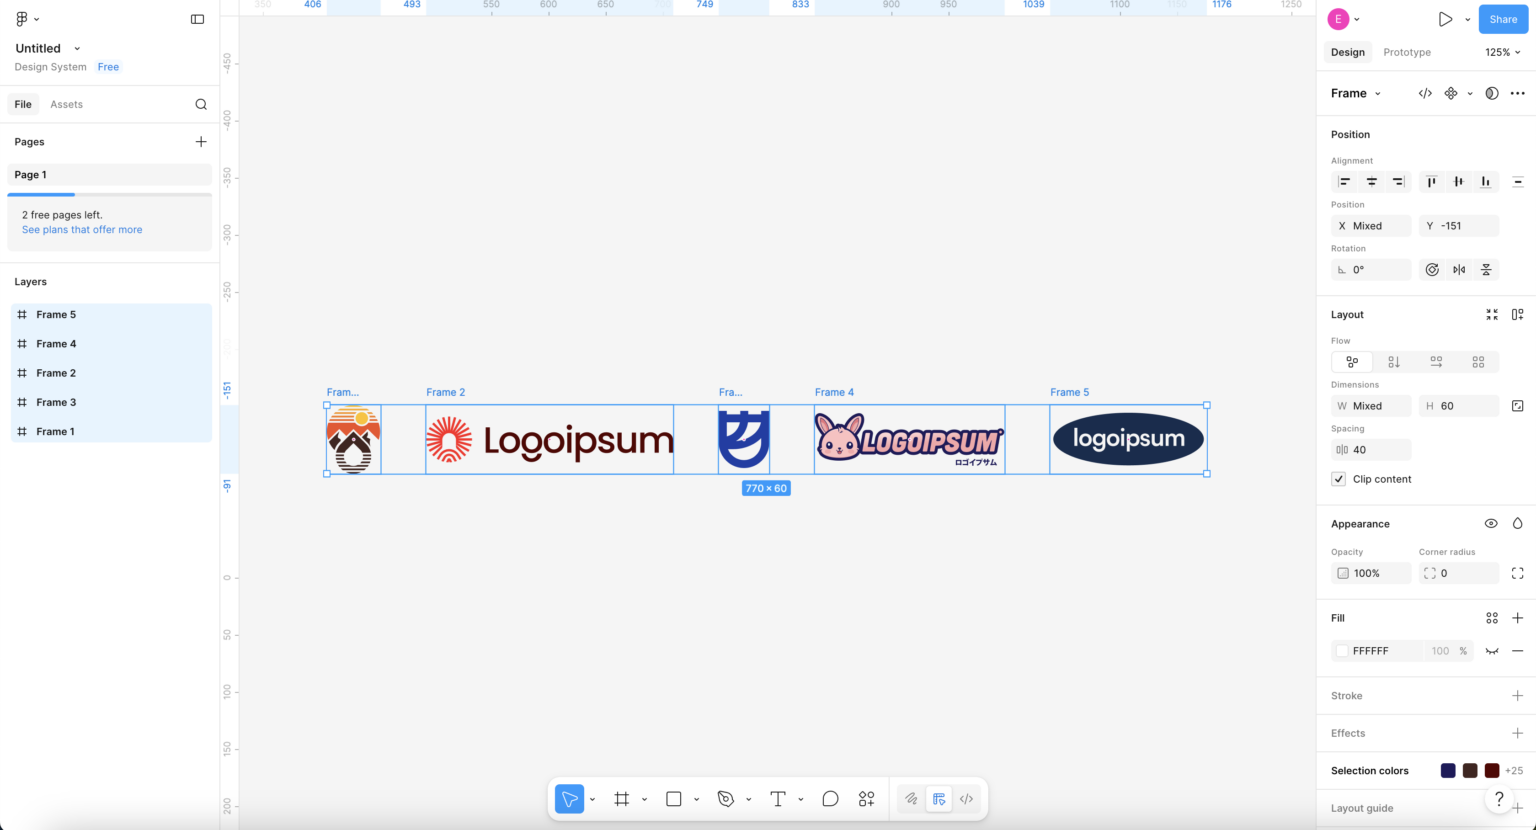
Step 2 — Create Frames
Create separate frames for each logo (Press F → creates a Frame).
Recommended size:
- Height: 60-80px
- Width: depends on the logo proportions
Step 3 — Scale Logos Properly
Place each logo inside a frame in Figma.
📏 Resize logos
Tall logos → use full height (60–80px)
Wide logos → reduce height to 40–50px
⌨️ How to resize
Hold Shift → keeps proportions (no stretching)
Or use right panel → change Height only
Make sure Lock aspect ratio is enabled.
📐 Align
Center all logos vertically inside the frame
📦 Frame size
After resizing, adjust frame width to match the logo
Keep height consistent for all frames
🧼 Remove Frame Background
Select the frame
In the right panel go to Fill
Click the eye icon 👁 or set opacity to 0%
This will make the frame background fully transparent when exporting. Note that if your original logo already has a background, it will remain visible.
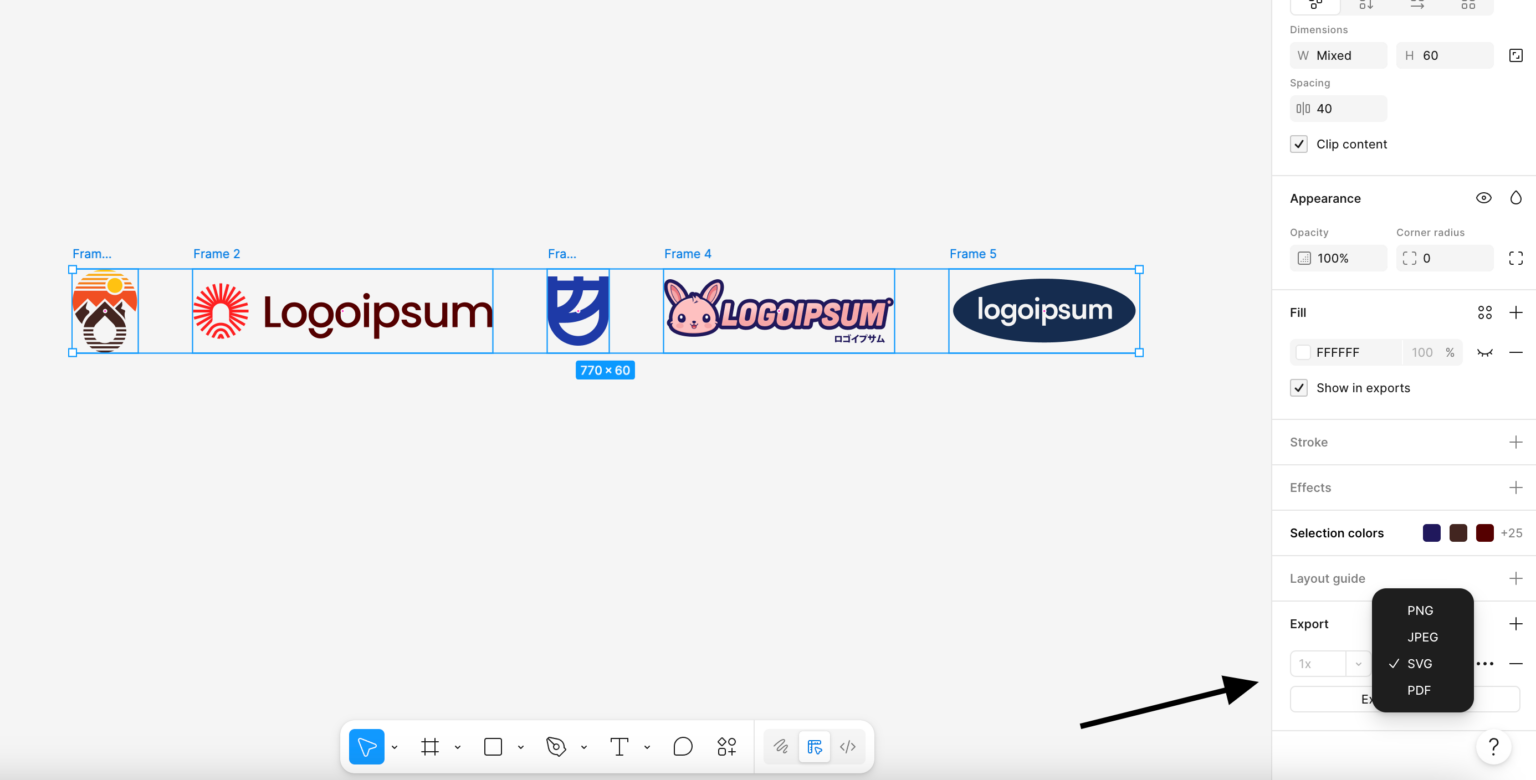
Step 4 — Export Logos
Now export your logos from Figma.
Select all logo frames first (Shift-click each one or Cmd/Ctrl + A).
Then go to the right panel → Export section.
Click + Export and choose a format:
- SVG → best option if your logo is originally SVG
- PNG → use if you need transparent background or don’t have SVG
- JPG → only if nothing else is available
If your logos come in different formats, that’s fine — just export each logo in its original format (SVG as SVG, PNG as PNG, etc.). The key is not the format consistency, but clean size and transparent background where needed.
Finally, click Export and save the files.
Done 👏
Your logos are now ready to upload to the Fab Scrolling Logo app and create a perfect logo banner.
Inside the app you can:
- reorder logos
- change size globally
- fine-tune spacing and appearance anytime
Your logos will now look consistent with clean, balanced proportions across the slider.