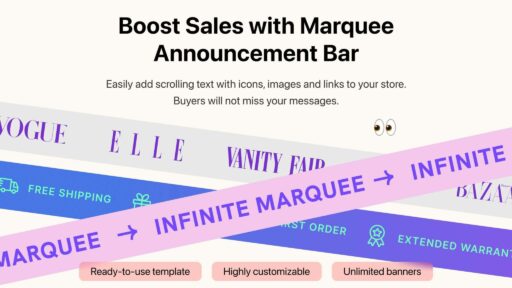
We’ve put together an easy step-by-step tutorial on how to quickly create an awesome logo banner featuring a marquee auto-scrolling effect for your Shopify website. The best part? You can place this banner anywhere on your page. You have the flexibility to set the size of the logos, choose the animation speed, create multiple logo banners, and there are no limits to the number of logos or banner views. In other words, you’ll have the freedom to create exactly what you need and place it wherever you want on your website.
Short introduction why use scrolling logo on your Shopify store.
Using a scrolling logo banner on your Shopify store is an effective strategy to enhance social proof and bolster customer loyalty. A logo showcase allows you to spotlight the brands you sell, showcase your partners, or highlight your clientele. Additionally, featuring logos in a banner section on your Shopify website can serve as an ‘As Seen On’ section, showcasing press mentions and building credibility for your brand. By incorporating trendy animations and marquee scrolling effects, you can capture the attention of your store visitors and increase engagement effectively.
Step-by-step tutorial on how to create a scrolling logo banner:
In the first step, let’s prepare the logos for our banner. The three most popular formats that work well are:
- SVG (recommended): It’s the most web-friendly vector file format for logos, ensuring a crisp look without blurring on high-resolution screens and retina displays.
- PNG: A raster image file type, popular for its ability to handle graphics with transparent backgrounds.
- JPEG: Widely used for images, but lacks the ability to maintain a transparent background, which can be crucial for logos.
After preparing the logos, it’s time to create the banner.
We’ll use the Fab Marquee ‑ Scrolling Text app from the Shopify App Store. This app is easy to use, offers all-in-one functionality, comes with an extended 14-day free trial, and has no hidden fees. The app supports all three file formats: SVG, PNG, and JPEG.
Once the app is installed, you’ll have access to a ready-to-use builder to create your logo banner. Additionally, the app allows you to make logo banners mobile-friendly, which is crucial since many customers access websites from mobile devices. We’ll explain how to do this shortly.
In the app dashboard, press the “Add new marquee” button to start creating a new logo banner.
Choose the name of your banner, for example, “Logo Banner”. Press the “Save” button to save your draft. Then, press the “Add new” button to upload the first logo.
Press the “Add image” button and upload your first logo. In our example, we will use a logo file in SVG format. However, you are free to use other formats, including monochrome or color logos, and upload as many logos as you need.
Let’s make the size of the logo bigger. We will change the size from the default 50px to 200px and save it by pressing the “Save” button. Optionally, you can make logos clickable and add a link to each by adding a URL address in the “Link on Image” field. You can leave it blank if you don’t need it, as in our example.
We will repeat the same actions to upload the remaining four logos. For some of them, we will use a smaller or bigger size via the settings to make them perfectly fit with each other. The app will automatically align them in the middle vertically. On the right part of your dashboard, you will find an animated preview of your logo banner. Great work, we’re almost finished! Let’s press the “Save” button and finalize the view of our logo showcase banner.
We finalize the view of our banner by changing the background color, adding more space between logos, choosing animation speed, etc. The app is really flexible, and you can customize the view according to your needs by exploring all settings on the left sidebar.
In the green frames, you can find the settings we changed. On the right, you will see a preview of the changes. Don’t forget to press “Save” when you finish.
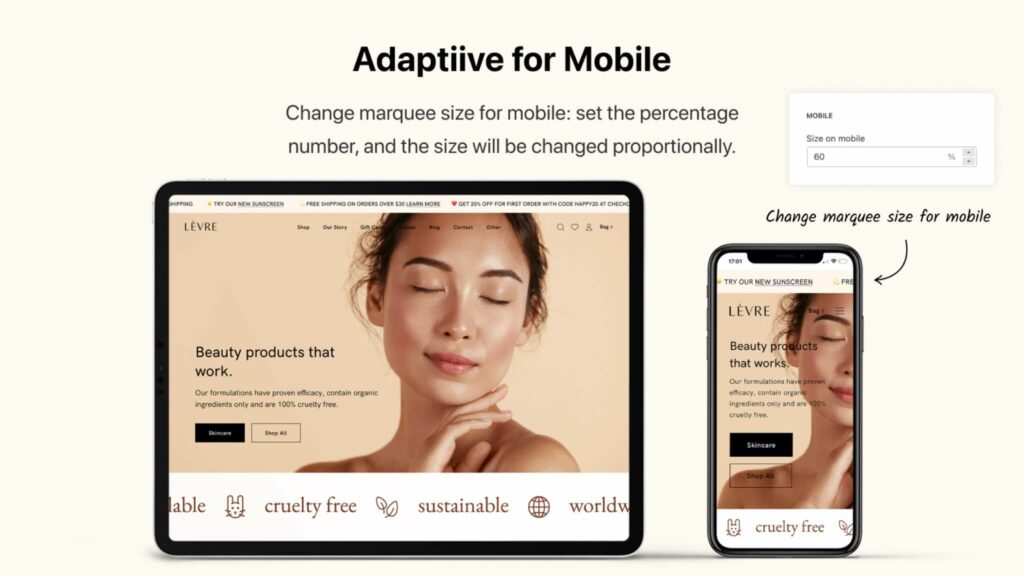
Before we move on to installing the scrolling logos banner to our Shopify theme, let’s check one important thing. On mobile screens, it usually makes sense to make the banner smaller than the original one for the desktop. In the Fab Marquee app, you will find a “Size on mobile” setting. By default, it is set to 60%, which means that on mobile devices, your banner will automatically look smaller. After installation, you can check how it looks on a mobile phone and come back to change the size if needed.
Great! It’s time to add our banner to the website.
Press the “Installation” tab at the top of the left sidebar. You’ll need to activate the app’s widget and choose from three placement options:
- Top bar (position above header)
- Top bar sticky (position above header with sticky effect)
- Custom Placement (place the banner where you want on the page)
Inside the app, you’ll find a short video instruction on how to do that. We’ll also provide a link to a YouTube video of the same tutorial in case you want to check it out now.
Woohoo!🎉 Now we have a catchy logo banner on our Shopify website with the freedom to edit it at any time. Plus, it’s possible to create multiple banners and place them in different locations, which can be quite useful.
Conclusion
A logo showcase is an important part of a modern website and can help you with marketing, enhancing credibility, and reaching your business goals more effectively. You can quickly achieve this by using the Fab Marquee app, which gives you the freedom to easily create what you want and saves time on development and maintenance.
Troubleshooting
Sometimes users encounter an issue where logos appear small on the banner. This can occur due to a small issue with the theme. However, there’s no need to worry because users of the Fab app can reach out to support, and a specialist will personally assist in resolving this for your store. If you encounter this issue, you can contact support directly inside the app 🙌
💡 Read How to Add “As Seen On” and “Featured In” Sections to Your Shopify Store (And Why They Boost Sales)